
How to create Kubernetes cluster with two nodes part 2
In previous article we showed How to create Kubernetes cluster with two nodes.
Following setting up Kubernetes cluster, we move on to know How to create a Kubernetes cluster with kubeadm.
Now that all tools have been installed, it’s time to create cluster and join nodes to it.
1- Initialize cluster
In previous article we created a yaml file called “/opt/kubeadm-config.yaml”.
we use this file to initialize cluster and run the following command in control plane node:
kubeadm init --config /opt/kubeadm-config.yaml
the output will be such as:
Your Kubernetes control-plane has initialized successfully!

To start using your cluster, you need to run the following as a regular user:

mkdir -p $HOME/.kube
sudo cp -i /etc/kubernetes/admin.conf $HOME/.kube/config
sudo chown $(id -u):$(id -g) $HOME/.kube/config

You should now deploy a Pod network to the cluster.
Run "kubectl apply -f [podnetwork].yaml" with one of the options listed at:
/docs/concepts/cluster-administration/addons/

You can now join any number of machines by running the following on each node
as root:

kubeadm join 192.168.137.41:6443 --token a40mcj.el3i1fait271qy42 --discovery-token-ca-cert-hash sha256:889b29d0971c11d9afa5b9ea52bc4c2f2f64879be43c6ac03a2a78c14e110fde
2- Install a Pod network add-on
For pods to talk to each other we have to specify our networking model.
There are lots of networking model in Kubernetes networking model documentation. Here we choose Flannel as our networking mode, because it’s simple and easy to implement.
So we download yaml config file:
wget https://raw.githubusercontent.com/coreos/flannel/master/Documentation/kube-flannel.yml
and then apply it to our cluster, so Kubernetes creates required pods:
kubectl apply -f kube-flannel.yml
3- Join nodes to cluster
As shown in the output last line in step 1, to join nodes to our cluster we must run the following command in EACH worker node:
kubeadm join 192.168.137.41:6443 --token a40mcj.el3i1fait271qy42 --discovery-token-ca-cert-hash sha256:889b29d0971c11d9afa5b9ea52bc4c2f2f64879be43c6ac03a2a78c14e110fde
4- Check cluster status
Now if we issue the following command on control plane:
kubectl get nodes
we may face this error:
The connection to the server localhost:8080 was refused - did you specify the right host or port?
it’s due to lack of “KUBECONFIG” environment variable definition.
we run this command to define KUBECONFIG as permanent environment variable:
echo "KUBECONFIG=/etc/kubernetes/admin.conf" >> /etc/environment
also we set it in current shell to be able to use kubectl command:
export KUBECONFIG=/etc/kubernetes/admin.conf
Now if we check nodes and pods status, the output will be:
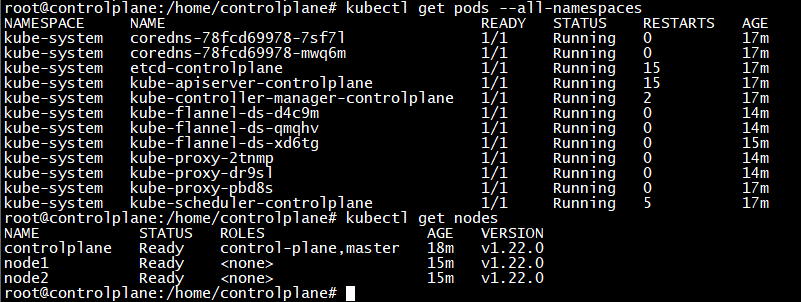
This confirms that our cluster has been set up properly.
Finally we have to specify node roles in cluster. Here we have to worker nodes so we do it by issuing:
kubectl label node node1 node-role.kubernetes.io/worker=worker
kubectl label node node2 node-role.kubernetes.io/worker=worker
5- Install Kubernetes dashboard (optional)
Kubernetes has a native dashboard that will not be installed by default. so here we install it manually:
kubectl apply -f https://raw.githubusercontent.com/kubernetes/dashboard/v2.2.0/aio/deploy/recommended.yaml
This will create kubernetes-dashboard namespace and related pods for us. we can see them with this command:
kubectl get pods --all-namespaces
Now to access dashboard we have to expose it. there are a few ways to do this:
By creating a service
By creating a port-forward.
the simple way is to create port-forward:
kubectl port-forward -n kubernetes-dashboard service/kubernetes-dashboard 10443:443 --address 0.0.0.0 &
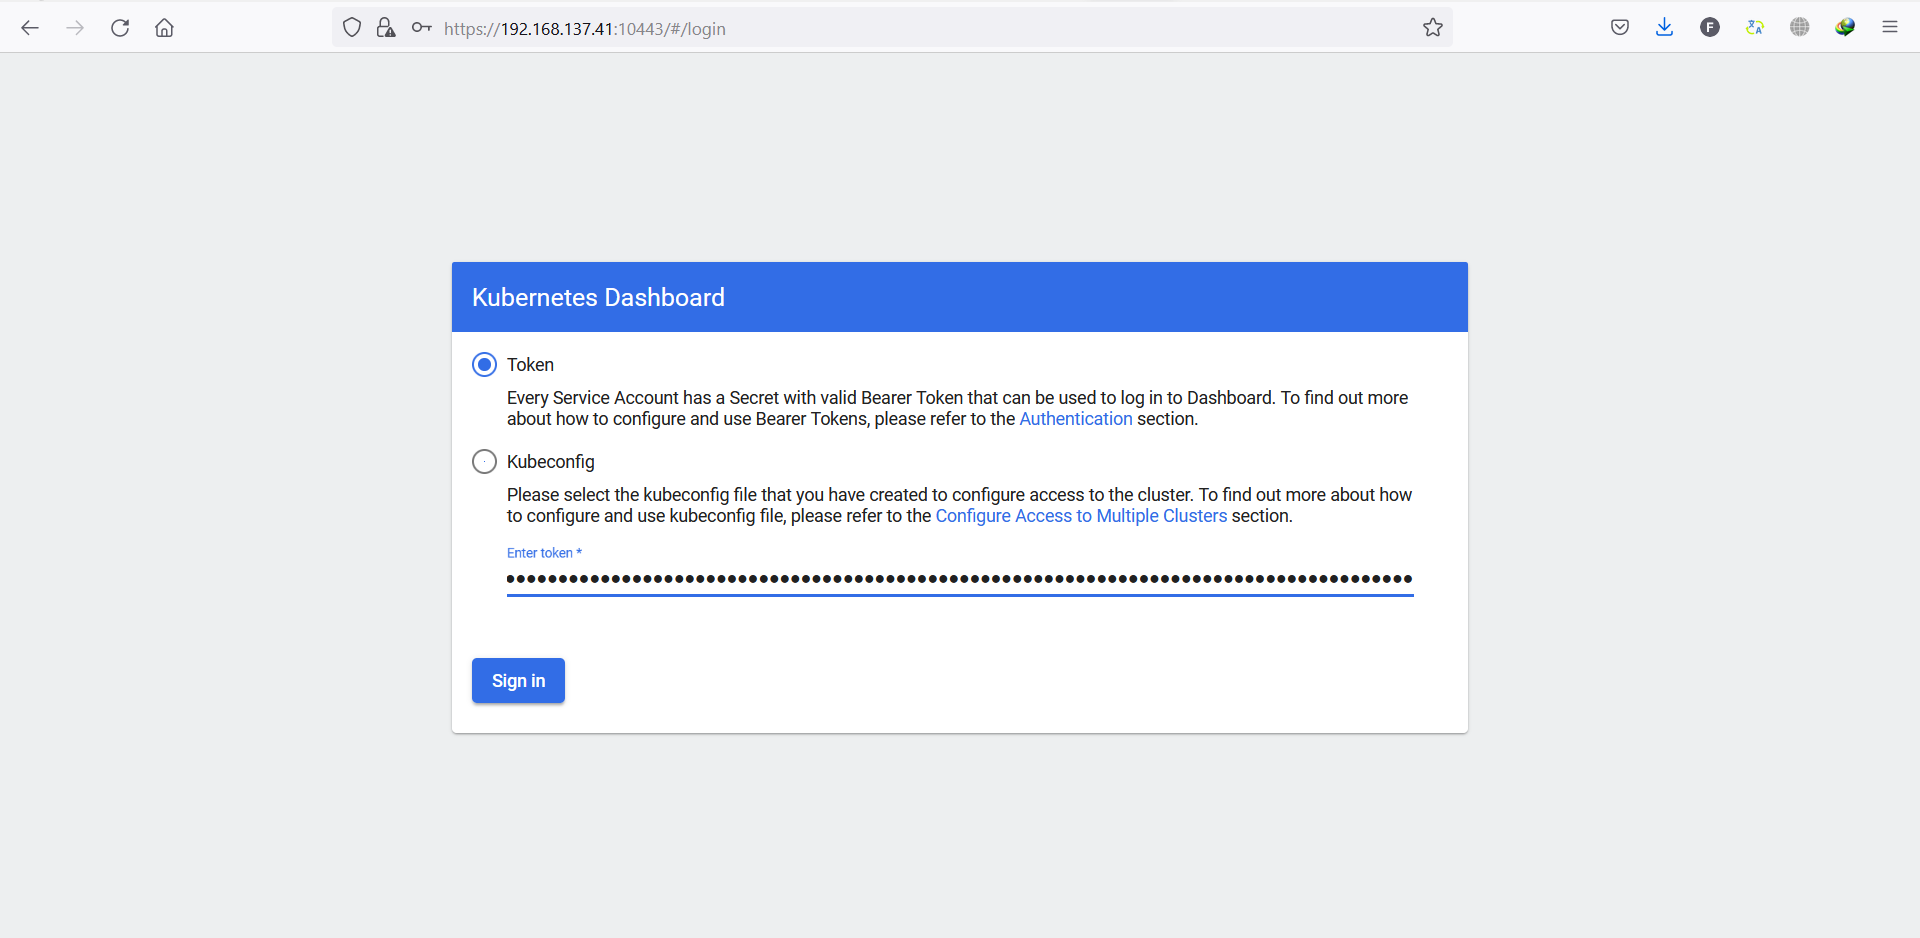
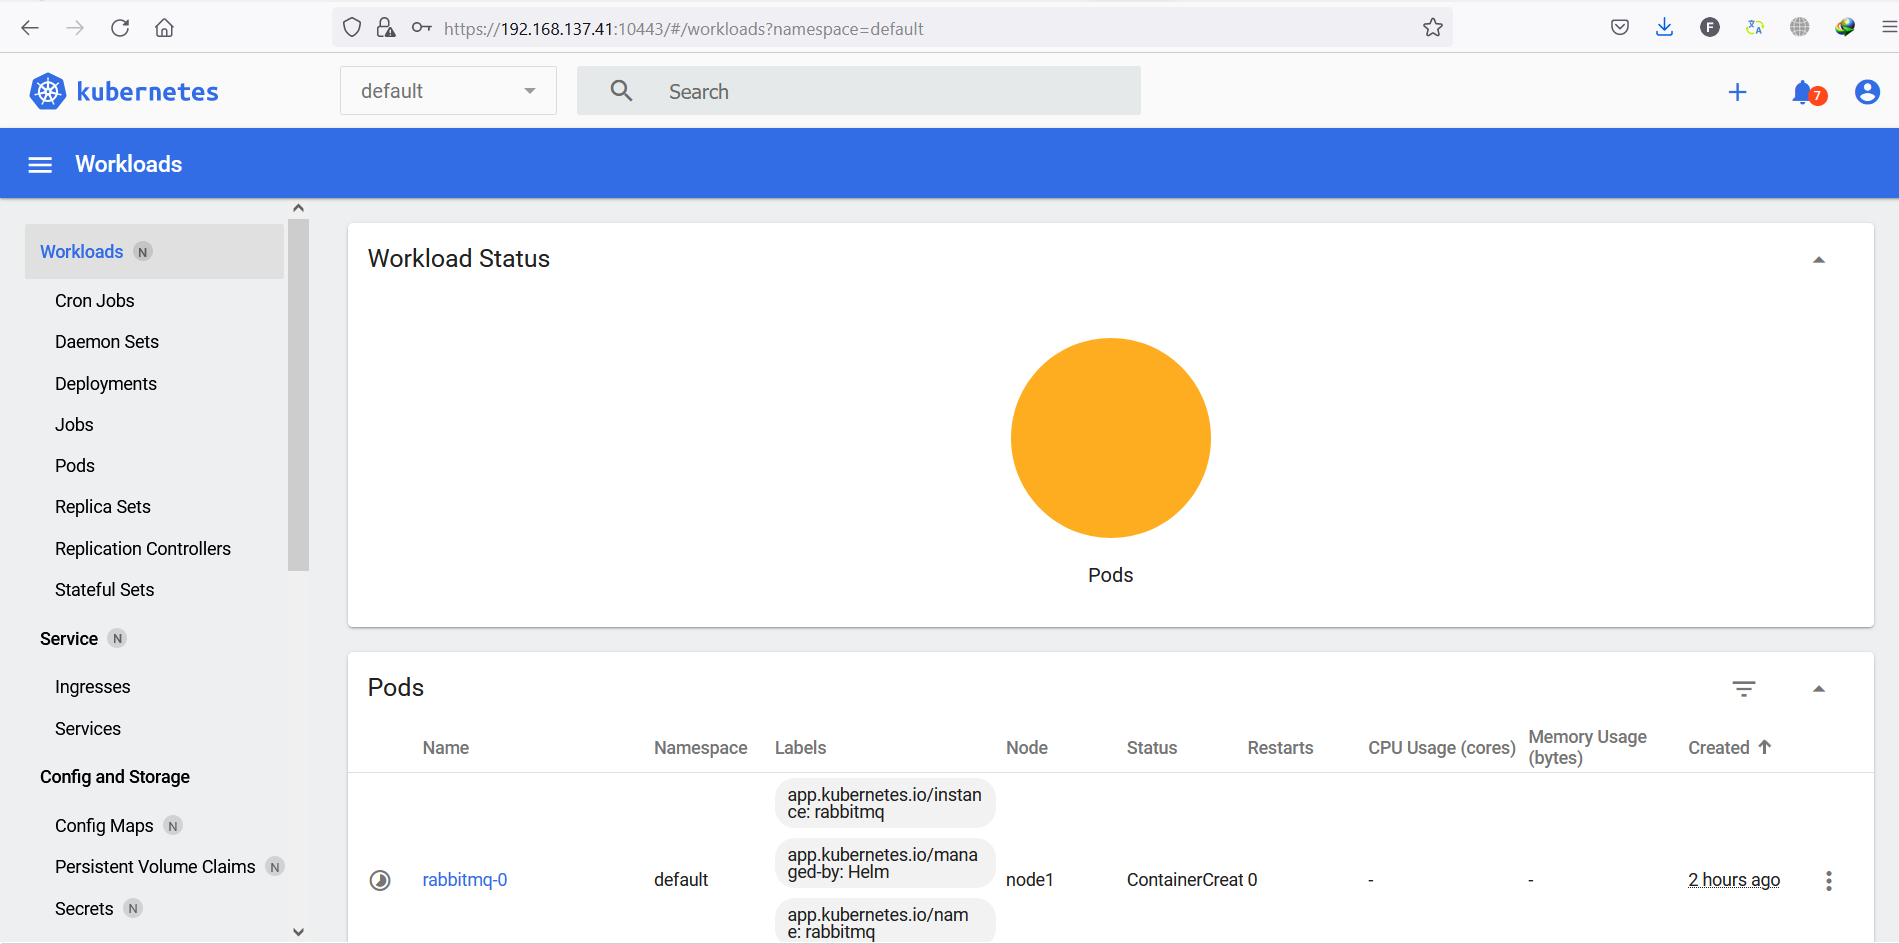
Now we can access to Kubernetes dashboard using control plane IP and 10443 port.
But before accessing it, we need to have a token to be able to login to dashboard.
so we find that token by issuing:
kubectl -n kube-system get secret
this will print the following output:
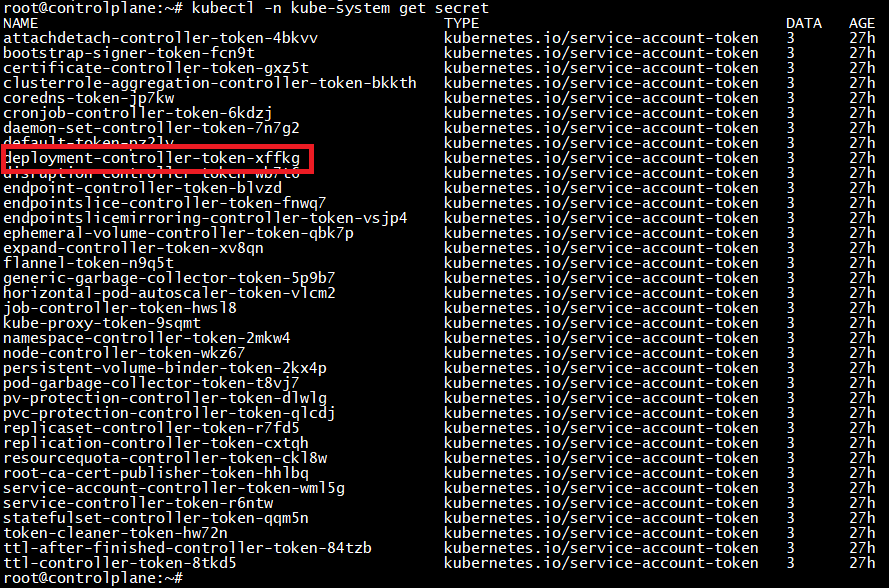
Now we can extract secret by issuing:
kubectl -n kube-system describe secret deployment-controller-token-xffkg
and the output will be:

Now we can access the dashboard:
6- Install bash completion (optional)
to work easier with kubectl, we install bash completion package to suggest or auto complete commands by pressing TAB key:
sudo apt install bash-completion
then we put the following line in ~/.bashrc for current user or /etc/bash.bashrc for all users:
echo "source /etc/bash_completion" >> ~/.bashrc
echo "source <(kubectl completion bash)" >> ~/.bashrc
Now we must log out and log in again for changes to be applied. Now we can enjoy tab completion:
