How to Configure FreeIPA replication on CentOS 7
In this tutorial we show how to Configure FreeIPA replication in CentOS 7.
FreeIPA is a free and open source project by RedHat for identity management.
FreeIPA helps administrators to manage identity, policy and audit centrally. configuring replication for FreeIPA helps it to be high available in production environments.
Here is our environment:
OS: CentOS 7 linux on VMware
Firewall: firewalld
SELinux: permissive
FreeIPA server1 IP address: 192.168.147.128
FreeIPA server2 IP address: 192.168.147.129
Client IP address: 192.168.147.130
Domain Name: tuxtips.local
1-Prerequisites
1.1 Hostname
FreeIPA needs host name to be FQDN. so first we set host name on both servers:
on server 1:
# hostnamectl set-hostname ipa1.tuxtips.local
# echo 192.168.147.128 ipa1.tuxtips.local >> /etc/hosts
# echo 192.168.147.129 ipa2.tuxtips.local >> /etc/hosts
on server 2:
# hostnamectl set-hostname ipa2.tuxtips.local
# echo 192.168.147.128 ipa1.tuxtips.local >> /etc/hosts
# echo 192.168.147.129 ipa2.tuxtips.local >> /etc/hosts
1.2 SElinux
here we put SElinux in permissive mode. so open SElinux config file and set it to permissive mode.
also run the following command to set permissive mode without restart:
# setenforce 0
2- Install FreeIPA
2.1 Server 1
first we install FreeIPA on server 1 and connect server 2 to server 1 :
# yum install freeipa-server
then run the following command to install FreeIPA services:
# ipa-server-install
Note: during FreeIPA services installation we set the following credentials:
Directory Manager password: tuxtips@dm
Admin password: tuxtips@123
then open required ports in firewall:
# firewall-cmd --permanent --add-port={80/tcp,443/tcp,389/tcp,636/tcp,88/tcp,464/tcp,53/tcp,88/udp,464/udp,53/udp,123/udp}
# firewall-cmd --reload
2.2 Server 2
Now install FreeIPA package on server 2:
# yum install ipa-server
to connect server 2 to server 1 and install required services, we run the following command:
# ipa-replica-install --principal admin --admin-password "tuxtips@123" --server ipa1.tuxtips.local --domain tuxtips.local
then run CA server service installation:
# ipa-ca-install
and open required ports in firewall:
# firewall-cmd --permanent --add-port={80/tcp,443/tcp,389/tcp,636/tcp,88/tcp,464/tcp,53/tcp,88/udp,464/udp,53/udp,123/udp}
3- Web Interface
A great feature of FreeIPA is its web interface that allows configuration very simply. so in server 1 open this address in a browser:
# http://ipa1.tuxtips.local
and login with admin credentials that we used during services installation.
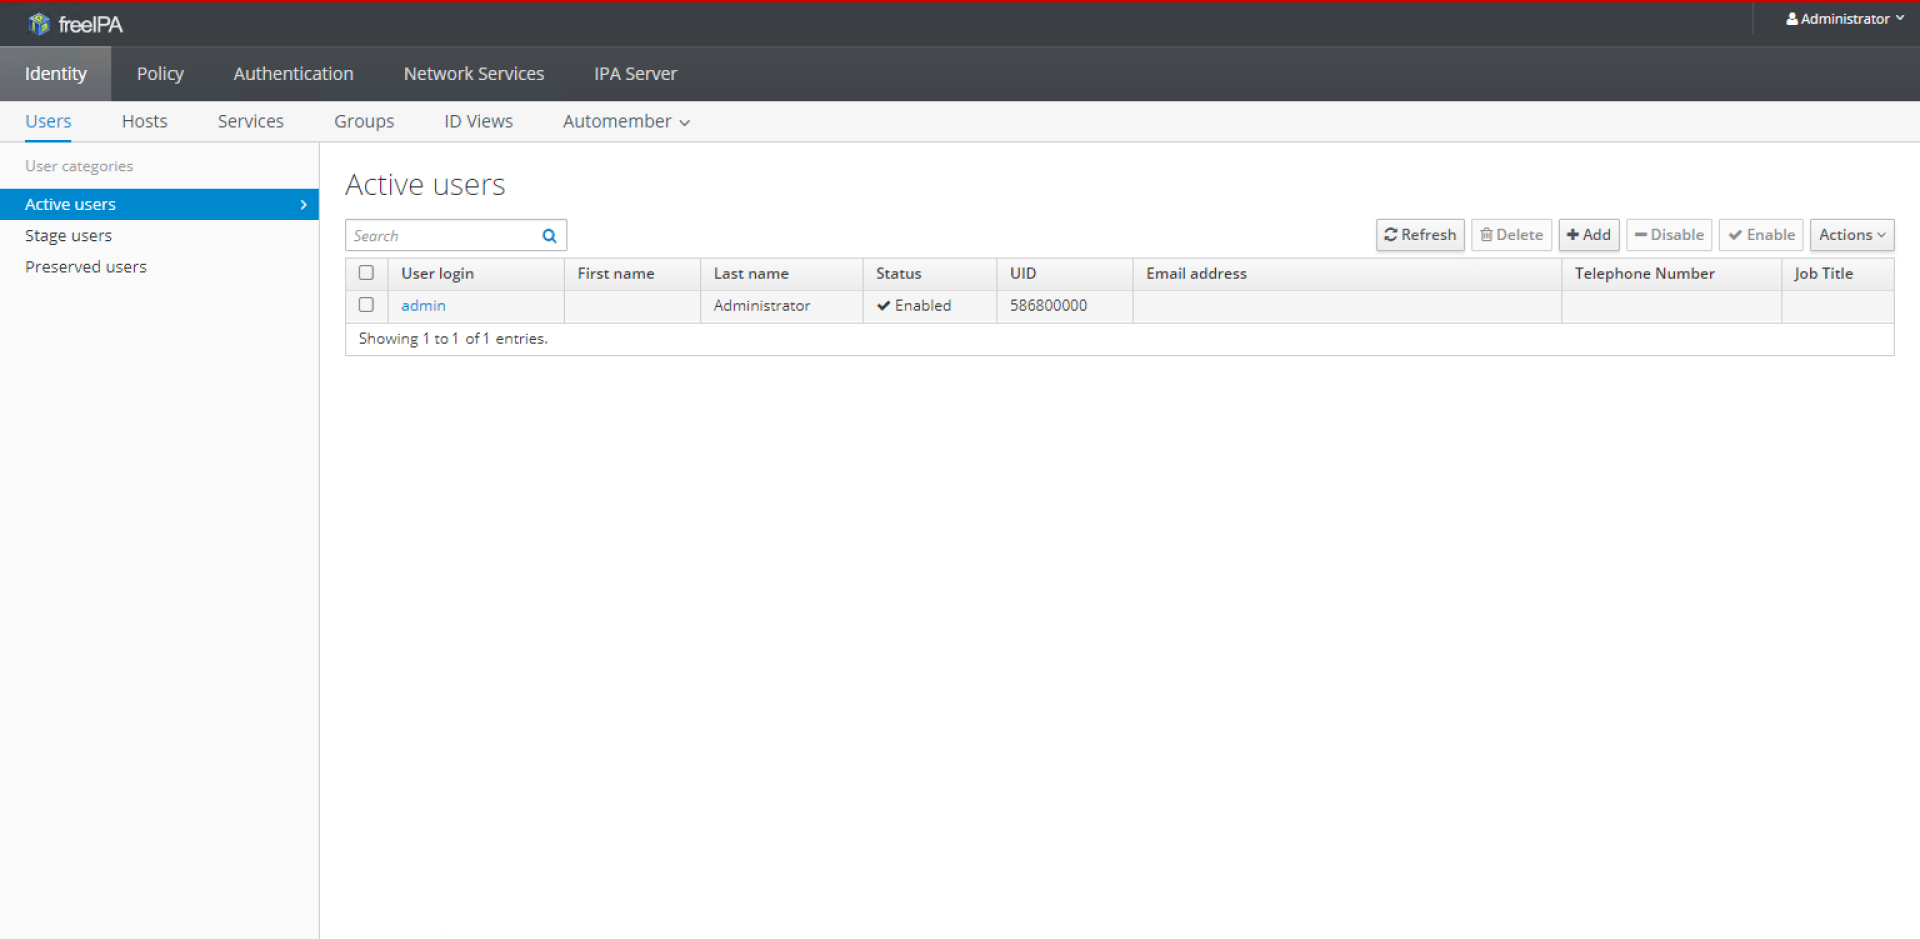
then define new user in “Identity>Active users” category.
now if we refer to server 2 web interface and go to “Identity>Active users”, we must see defined user in server 1 that has been replicated with server 2.
this verifies that our replication works correctly.